
The first thing I remember painting was a still life of a vase of daisies when I was six years old. Even back then, I got a thrill out of painting and the sense of fulfillment it provided. Even though I’ve been making art my entire life, the power of paint still amazes me. You can also get the thrill and sense of accomplishment out of painting.
Begin by just looking around at the items in your home. Take that heirloom piece you’ve owned for years that’s lost its luster and fall back in love with it. Why buy new when you can simply breathe new life into a piece you already have with the power of paint?
Painting and transforming a piece of furniture can be time consuming, but it’s worth it! And you’ll also earn bragging rights for creating a custom, “high-end” piece.
Follow these professional painting guidelines so that your piece will withstand the test of time.
Materials
◊ Screwdriver to remove hardware
◊ Mild soap and water
◊ Clean, lint-free cloths
◊ Medium sandpaper or block
◊ Fine sandpaper or block
◊ 1 qt. Primer
◊ 1 qt. Paint
◊ 2 Paint brushes
◊ 4-inch Roller with pan
◊ Poly or finishing wax (optional)
Note: Always use high quality materials and work in a vented and temperature-controlled space.
STEP 1: The Plan
Once you’ve selected a small piece of furniture, dive into your inner creativity to give your piece some personality. Ask yourself: Do you simply want to give it a fresh new color or do you want to take it a step further by making it come to life with one of these custom styles?
◊ Distressing: Give it a worn look by sanding off some paint on the edges
◊ Stenciling: Add a design or pattern
◊ Use multiple colors
◊ Add stripes to the piece
◊ Add letters and numbers to the piece
◊ Change the hardware
◊ Decoupage: Adhere a piece of paper or photo to it
◊ Repurpose: Change a dresser into a bathroom vanity
STEP 2: Prep
This is the most important step! The finished product depends on the quality of the prep.
◊ Remove the hardware
◊ Take out the drawers, wherever applicable (work on them separately)
◊ Clean the piece with a cloth moistened with mild dish detergent and water
◊ Let it dry completely
STEP 3: Sand
Sand off the glossy finish; a dull surface will give the paint something to grab onto.
◊ Start with medium sandpaper; work in the direction of the wood grain
◊ Remove all the sanding dust with a damp cloth or tack cloth
◊ Let it dry
STEP 4: Prime
Primer helps the paint adhere to the surface and covers any stains.
◊ Using a 2 ½-inch angled brush, work on a flat surface
◊ Use a stain-blocking, oil-based primer
(Kilz or Bullseye); it’s also available in a spray paint, which is great for intricate spaces and spindles
◊ Apply one thin coat or two for stubborn stains; let dry in between coats
◊ When it’s thoroughly dry, sand entire piece again with fine grain sandpaper
◊ Remove all sand dust
STEP 5: Paint
Apply high quality paint using quality brushes and rollers.
◊ Use high quality interior latex paint in a semi-gloss finish
◊ Use a 4-inch quality roller to apply paint and a 2 ½-inch angled brush to smooth it out
◊ Apply 1 coat of paint; wait for it to dry, then lightly sand using fine sandpaper
◊ Apply at least 2 thin, even coats of paint
STEP 6: Protect
You have three options to protect your furniture:
1. Let the paint fully cure, which can take 4-6 weeks. Handle the piece with care.
2. Seal the piece with a non-yellowing poly
3. Wax your entire piece with a quality finishing paste (follow manufacturer’s directions)
Every piece of furniture has a story to tell—a past and future. Any piece of furniture can be transformed or repurposed with a little paint and imagination. Have fun and take pride in knowing that you can do it and discover the power of paint. Happy painting!
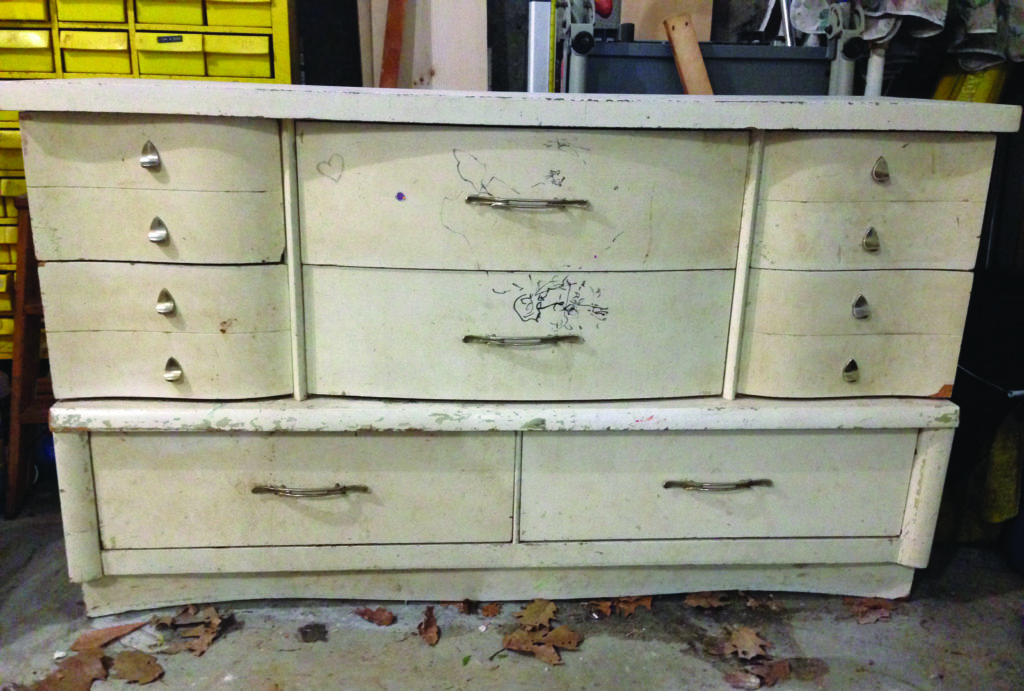
Before (above): A solid Broyhill dresser discarded and left by the curbside.
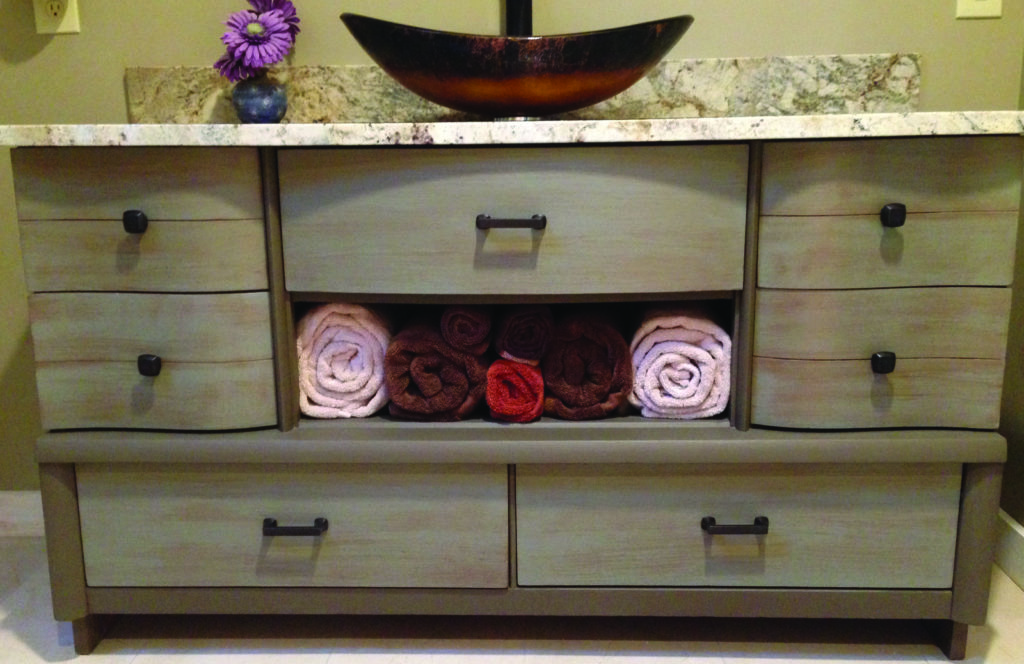
After (below): A textured two-tone stripe paint job, new hardware, granite counter and solid glass vessel sink turned this dresser into the focal point of a 1950s-era bungalow bathroom.


